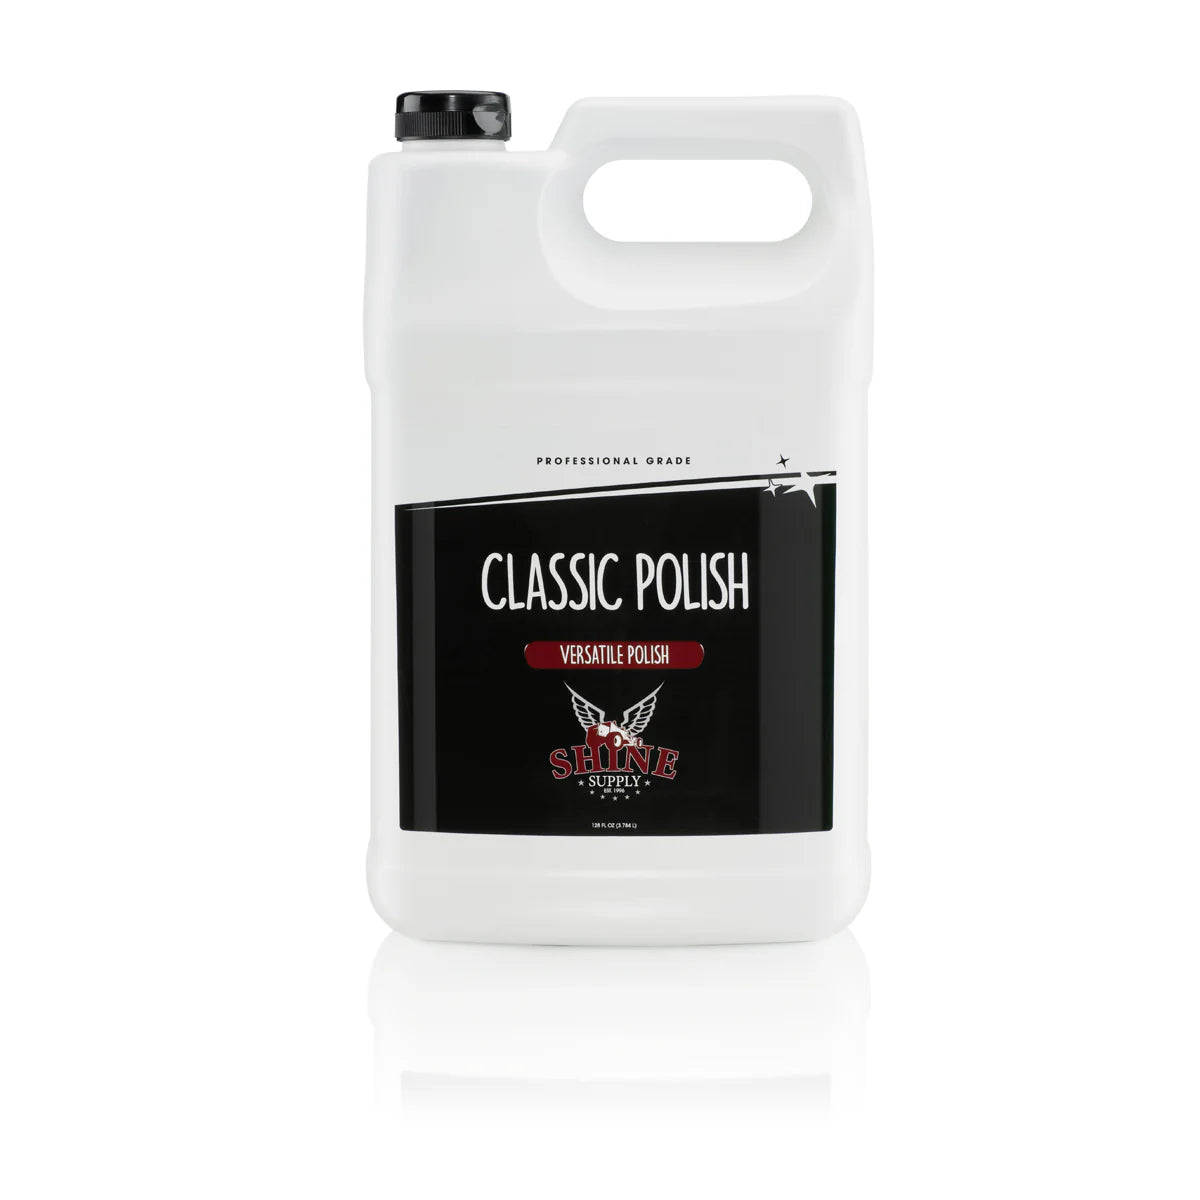
Classic Polish
Classic Polish
Couldn't load pickup availability
Two jobs, one bottle: light compound or final polish, depending on the pad you put it on.
Classic Polish is a diminishing abrasive with a minor cutting ability. That small amount of cut is what gives it range. It has enough bite to pull out heavier haze and to polish harder clear coats that finer polishes just slide across, and it still finishes crystal clear in a single step.
The other half of it is the long cycle time. It stays workable instead of flashing off on you, so the finish is controlled by your passes rather than by how fast the product dies. That's what lets the same bottle run as a final polish on a hard clear or as a light compound on a newer car.
The important limitation
It is not the polish for very soft clear coats. Classic Polish is not as fine as Classic Finish Plus, and on a genuinely soft clear you'll be chasing marring you created. Soft paint finishes out with Classic Finish Plus on a black foam pad. Worth knowing before you start, not after.
Where it sits
- Classic Cut Plus: heaviest cut, built for hard paints that resist correction.
- Classic Cut: the compound step for moderate defects on soft and medium paint.
- Classic Polish: minor cut plus a clear finish, in one step. Hard clears and heavy haze.
- Classic Finish Plus: the finest of the four. Soft and very soft clears.
Using it as a final polish
Pad: an HDO orange foam pad.
- Prime the pad with 2 to 3 dots.
- Light down pressure on the first pass, then lighten further.
- Cycle the product until it goes clear, then wipe off and inspect.
- Still see haze? Recycle that section with a faster arm speed, check it again, then move on.
Using it as a light correction
Pad: a microfiber polishing pad.
- Prime the pad first, working the product down into the fibers rather than leaving it sitting on top.
- Correct the panel the way you would with any compound.
- Follow it. On softer clears, Classic Finish Plus on a black foam pad. Otherwise a second pass of Classic Polish on the HDO orange foam to clear the light marring the correction step left behind.
Detailer tips
- A spritz of Shine Mist extends the cycle and helps it finish down.
- Keep it on a dual action polisher. That's where the finish is best and most controllable.
- Works on all paint types, non-filling and silicone free, so what you're looking at is the real correction and not a temporary shine sitting in the defects.
- When you're done, follow with Classic Finish Plus on soft clears, or go straight to your protection.
Pairs well with
- Orange HDO Polishing Foam Pad: the pad Classic Polish finishes best on.
- Classic Cut - Versatile Compound: the cutting step ahead of it when the defects are deeper than light.
- Classic Finish Plus - Specialty Polish: the finishing step for soft clears, and the answer when Classic Polish is too much.
- Shine Mist - Clay Lube: doubles as the pad primer that extends your cycle time.
- Throw Back - Paint Cleanser: strips the polishing oils so you inspect the real finish before protection goes on.
- Beadlock Pro Ceramic Paint Coating: lock the gloss you just created under 9H protection.
Detailers Products is Georgia's exclusive Shine Supply dealer. We stock the full Shine Supply line in Atlanta and ship to the lower 48.
Share